Just reinforced the mountings for the foot braces with glasfibre. To protect the threads i placed a screw in each hole and then placed the fiberglass over the screw.
The new block for the tubing for the skeg wire is now in place.
Aaaargh - @#$!!**@#$ !!
I just wanted to check how the skeg wirering was to operate so I put the deck on the hull and hooked a bungee cord and wire to the skeg in the skeg box. From the skeg box to the wire cleat I placed the plastic tube in wich the wire should run. When trying to mount the tubing I realized that I have mounted the wrong tube bushing. I have 8mm tube and I had glued a 6mm bushing ti the wood block. I took my drill and "dismounted" the 6mm bushing. Then I tried again and found that the wire was almost impossible to operate. The near 90 degrees bend on the tubing made the wire slide very poorly. I need the tubing to meet the deck in a very narrow angle so there is no bend.
"Dismounting" the wood block
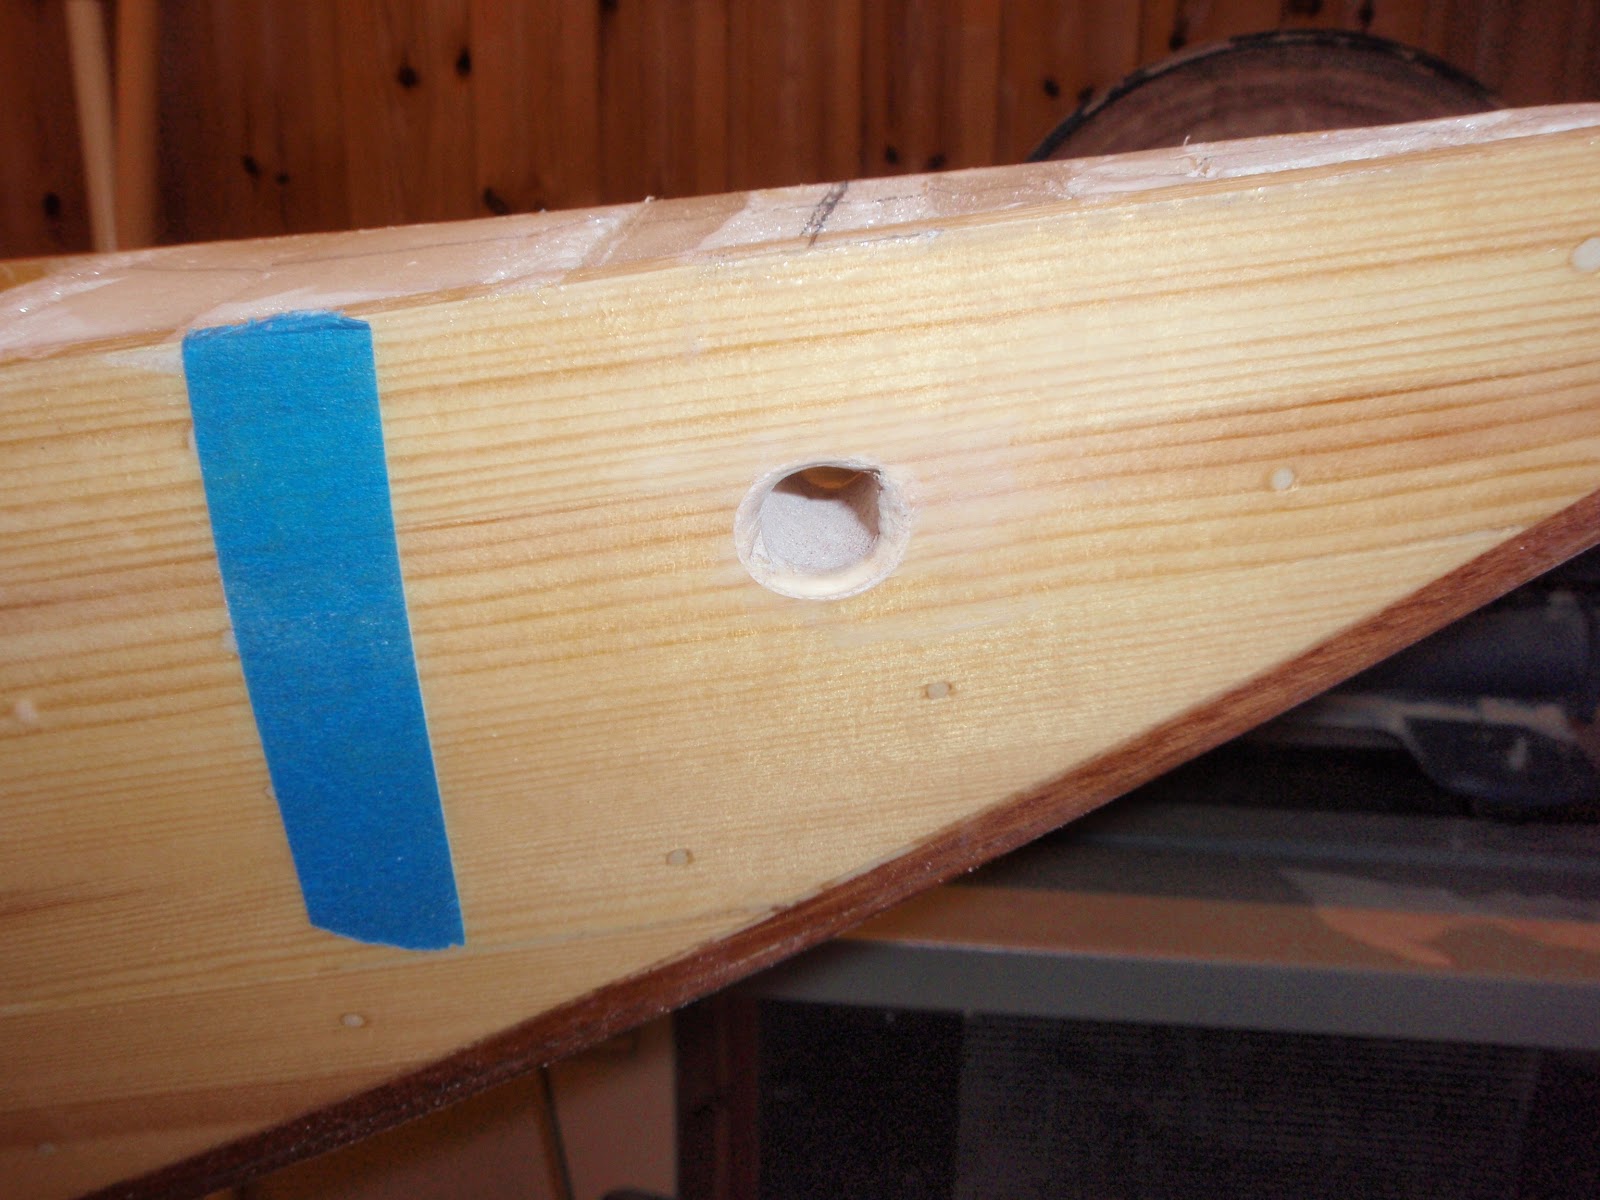
Repairing the hole. This will not be visible because it will be underneath the wire cleat.
I placed the name inlay on the deck and glued it in place. The I wrapped the whole thing in tape very tight. (got no pictures of the tape wrapping)
Today I made the name inlay for my kayak. I used the planer to make a bunch of shavings. After few sec in boiling water I could straighten out the shavings and place them to dry on a paper.
I carefully cut out small pieces of the shaving to form the letters.
Its not easy to see, but on top of the paper template is a piece overhead foil. I glued the small pieces of wood in place on the foil.
I have ordered 400g of micro balloons to use in the end pours. I have still not received the microballons but I am doing the preparations. I have made partitions of cardboard covered with packing tape.
Here I am testing the position of the foot braces. The foot braces are held in place by a couple of clamps.
The hoops for the bungee cord are coated with epoxy.
It has been a very productive weekend :-) I have even had time to make bread. Coarse rye bred with cheese and a glas of Amarone... (and yes I know I should have picked a proper glass..)


